Before we jump into the steps of creating a solar panel, here’s a quick explanation of how it works. Solar panels are devices made up of photovoltaic (PV) cells that convert sunlight into electricity. The PV cells are typically made from silicon and consist of two layers – one positively charged and the other negatively charged. When sunlight hits the cells, it excites electrons in the silicon atoms, creating an electric current.
Now let’s get started with creating your homemade solar panel:
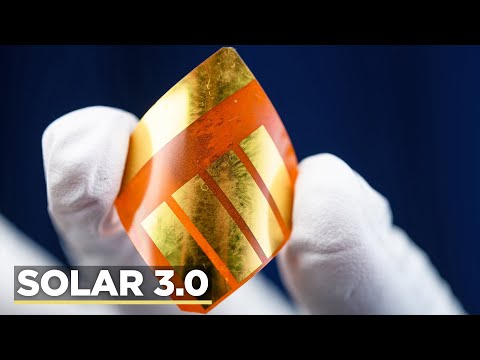
1. Gather the necessary materials: Begin by collecting essential components such as solar cells (you can purchase these online or from specialized stores), tabbing wire, flux pen, soldering iron, a sheet of plywood (or any sturdy base), Plexiglas or tempered glass (for protection), and some silicone adhesive.
2. Create a frame: Cut the piece of plywood into a rectangular shape according to your desired dimensions for the solar panel. This will serve as the base for mounting all other components.
3. Attach solar cells: Lay out the PV cells evenly across the plywood sheet and glue them down using silicone adhesive to secure them in place.
4. Connect solar cells: Use tabbing wire to interlink each individual cell together in series using soldering techniques. The positive terminal of one cell should be connected to the negative terminal of its neighboring cell until all cells are connected in sequence.
5. Add electrical junctions: Once all cells are connected, apply a thin layer of flux pen along the length of each tabbing wire and solder them to the solar cells. This ensures better conductivity and increases overall efficiency.
6. Provide protection: Place a sheet of Plexiglas or tempered glass on top of the solar panel to protect the cells from external damage and maintain their efficiency.
7. Wire connections: Attach positive and negative wires to the solar panel by soldering them to the respective terminals of the first and last cells. These wires will be used for connecting with an electrical system or battery storage.
8. Test your homemade solar panel: Finally, it’s time to test your creation! Take your solar panel outside during daylight hours and measure its voltage and current output using a multimeter. This will help you evaluate its performance.
Remember, creating your own solar panel requires precision, patience, and careful handling of materials. Ensure safety precautions are followed throughout, especially when handling soldering irons or working with electricity.
Constructing a solar panel at home is not only a rewarding DIY project but also an excellent way to reduce your environmental impact while saving money on energy bills in the long run. With some basic tools, materials, and dedication, you can successfully embark on this eco-friendly journey towards harnessing solar power in your own backyard. So go ahead – gather your supplies, follow these steps, and take that leap into renewable energy!